
How to Install Videcool on Windows
This page explains how to install Videcool on a Windows system using WAMP, guiding you from preparing the web root through running the installer to accessing the Videcool dashboard in your browser. By following the steps below, you will rename the default WAMP www folder, deploy Videcool with the Windows installer, and create an administrator account to manage your projects. After completing the procedure, you will have a fully functional local Videcool environment ready for AI video creation and integration with your existing workflows.
Prerequisite
Before installing Videcool on Windows, you must have a working WAMP server already installed on your machine.
If WAMP is not yet set up, follow the detailed installation guide available on this page to prepare the required web server and PHP environment:
How to setup a WAMP Server
Once WAMP is installed and running, you can proceed with the steps
on this page to deploy Videcool into the WAMP web root and access it from your browser.
Videcool Windows installer
Installation video
Quick steps
To install an VideCool follow these quick steps:
- Rename original www folder in WAMP
- Install Videcool
- Open Videcool in a browser
- Install VideCool
- Open VideCool in a browser
- Create Admin account
- Log In as Admin
- Explore the Dashboard
Step 1: Rename original www folder in WAMP
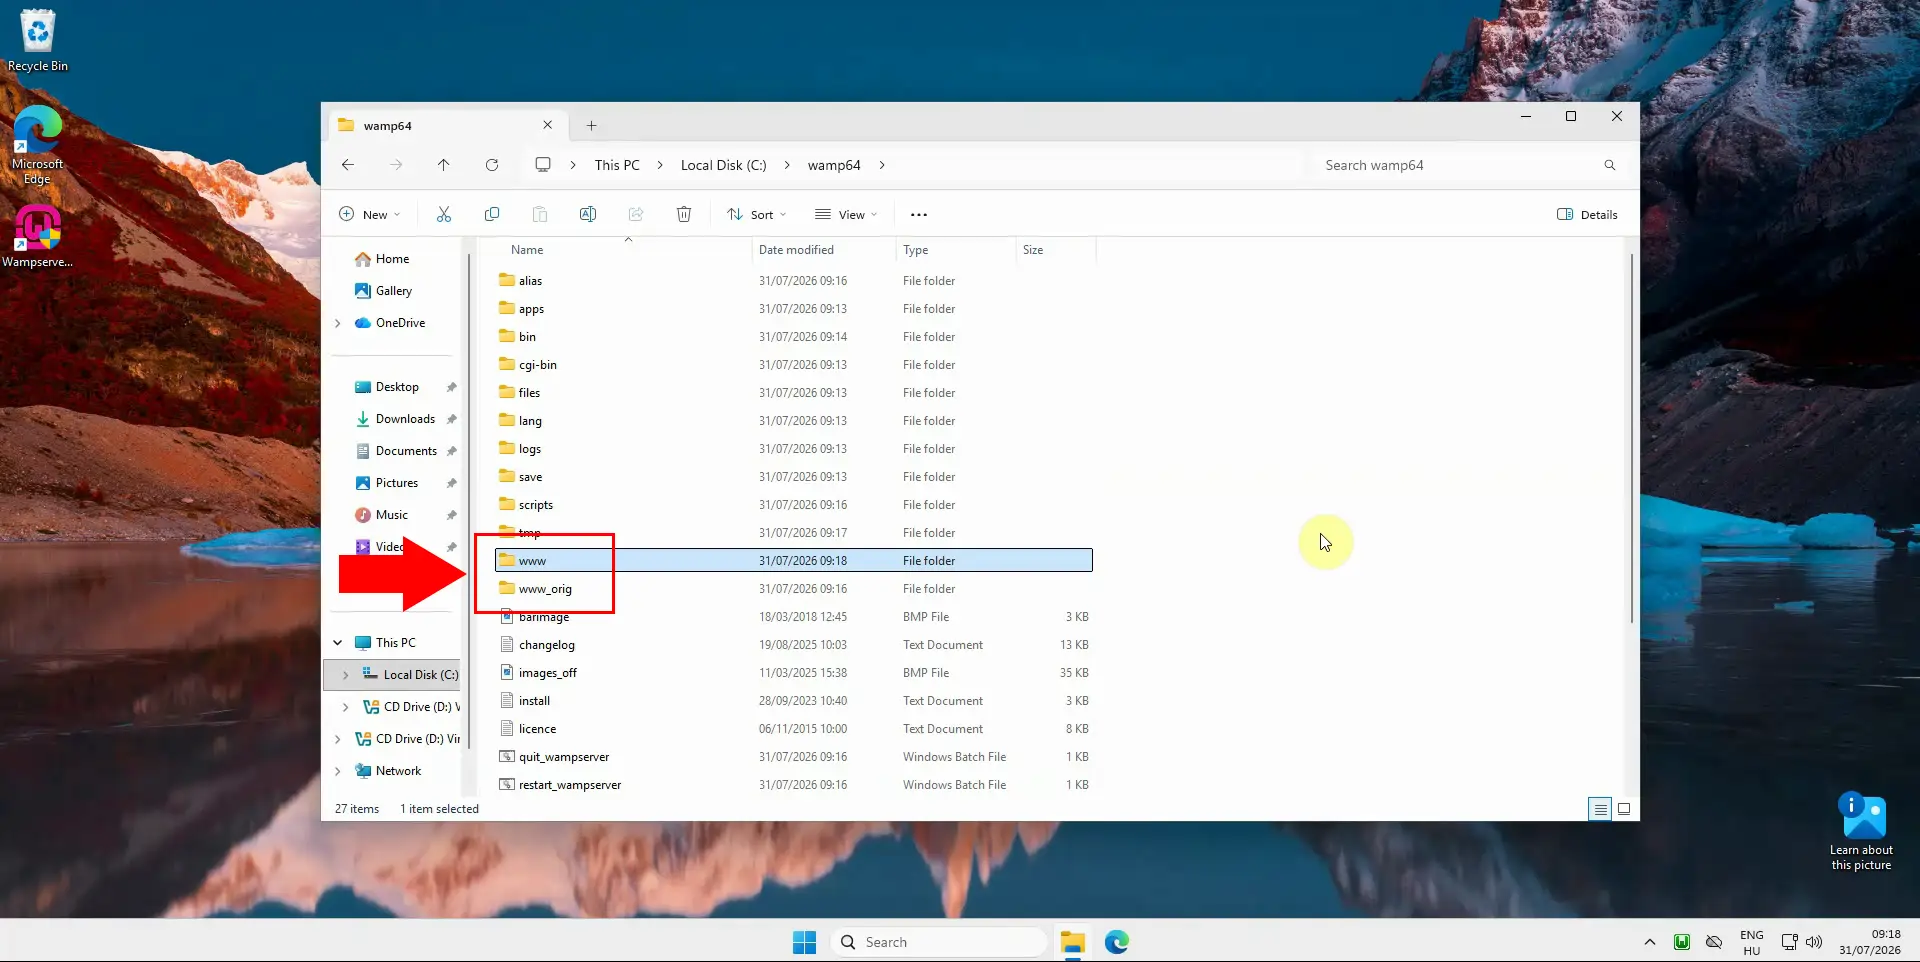
Open the WAMP installation directory on your Windows machine and locate the default www folder where WAMP serves web content. Rename this folder (for example to www_backup) so it will not conflict with Videcool’s own web root. This ensures Videcool can install its files into a clean www directory without interfering with existing projects.
Step 2: Install Videcool
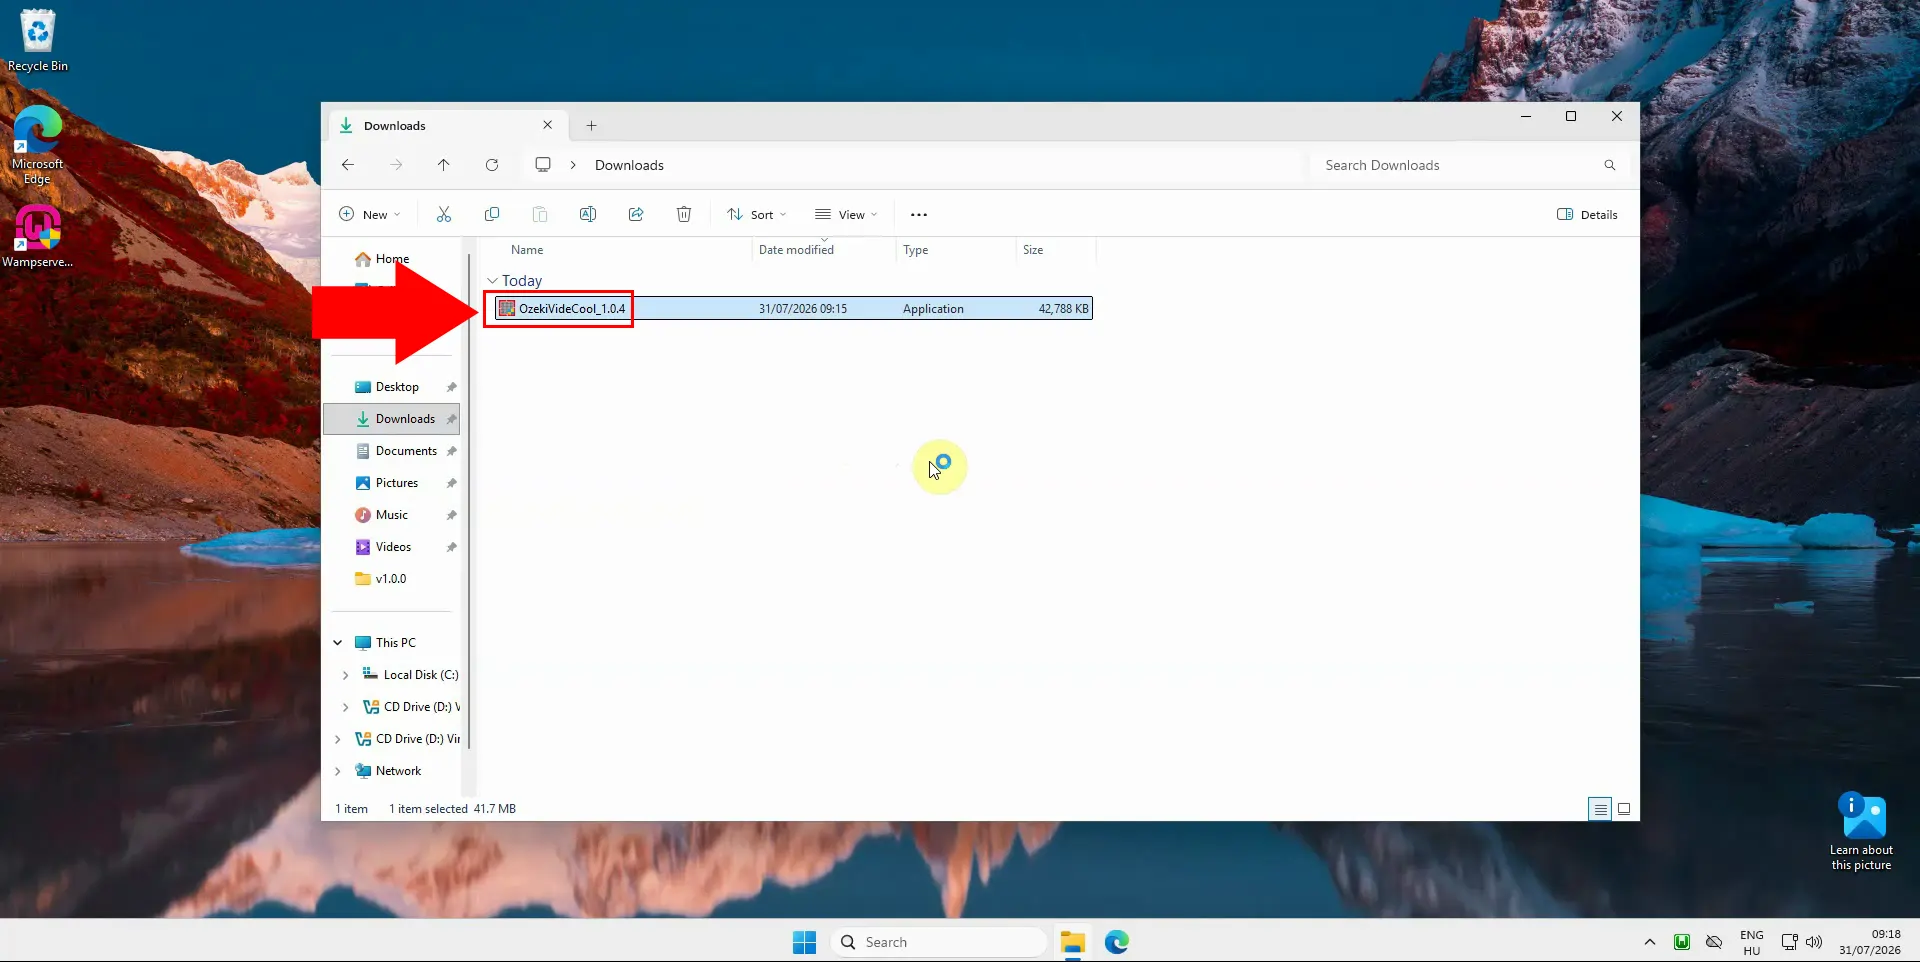
Run the Videcool Windows installer executable by double-clicking the downloaded setup file in File Explorer. If Windows displays a security or UAC prompt, confirm that you want to allow the installer to make changes to your device. Once the installer window opens, you are ready to follow the guided steps to deploy Videcool onto your WAMP environment.
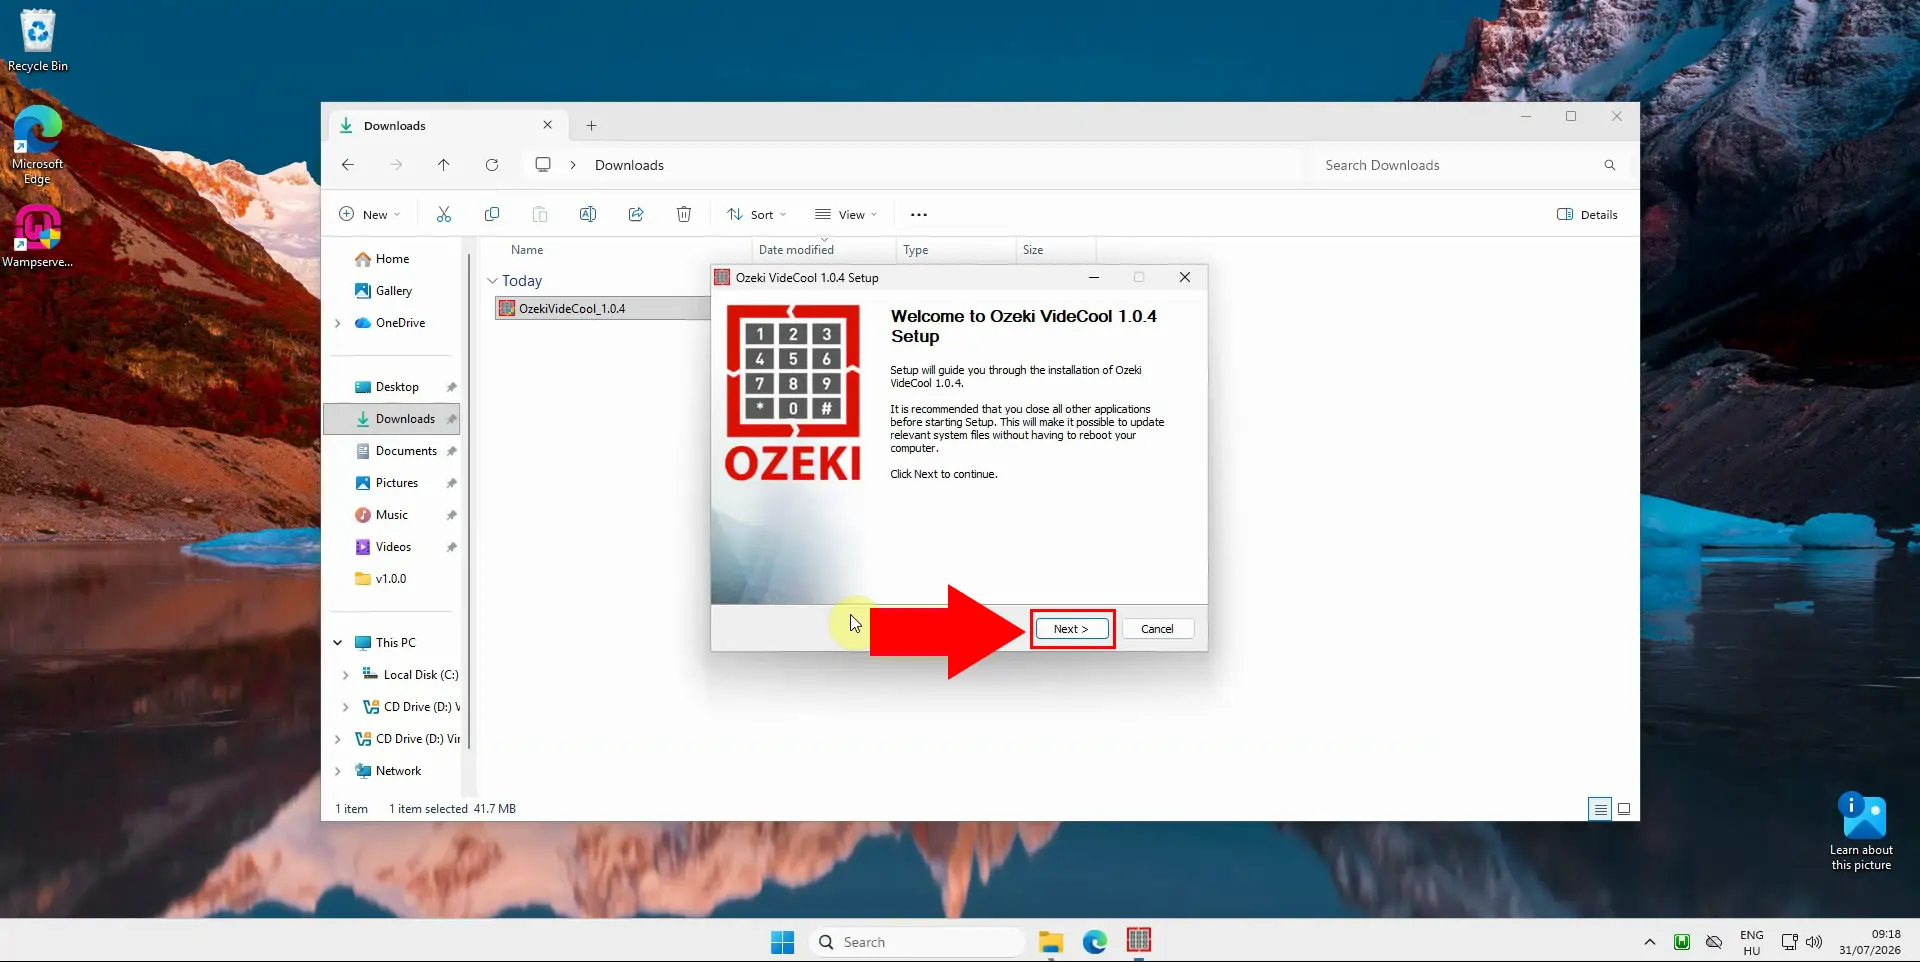
On the installer’s welcome page, verify that you launched the correct Videcool setup package for Windows. Review any brief introduction or requirements shown, then click the Next button to continue. Proceed only if your system meets the listed prerequisites such as WAMP being installed and running on your machine.
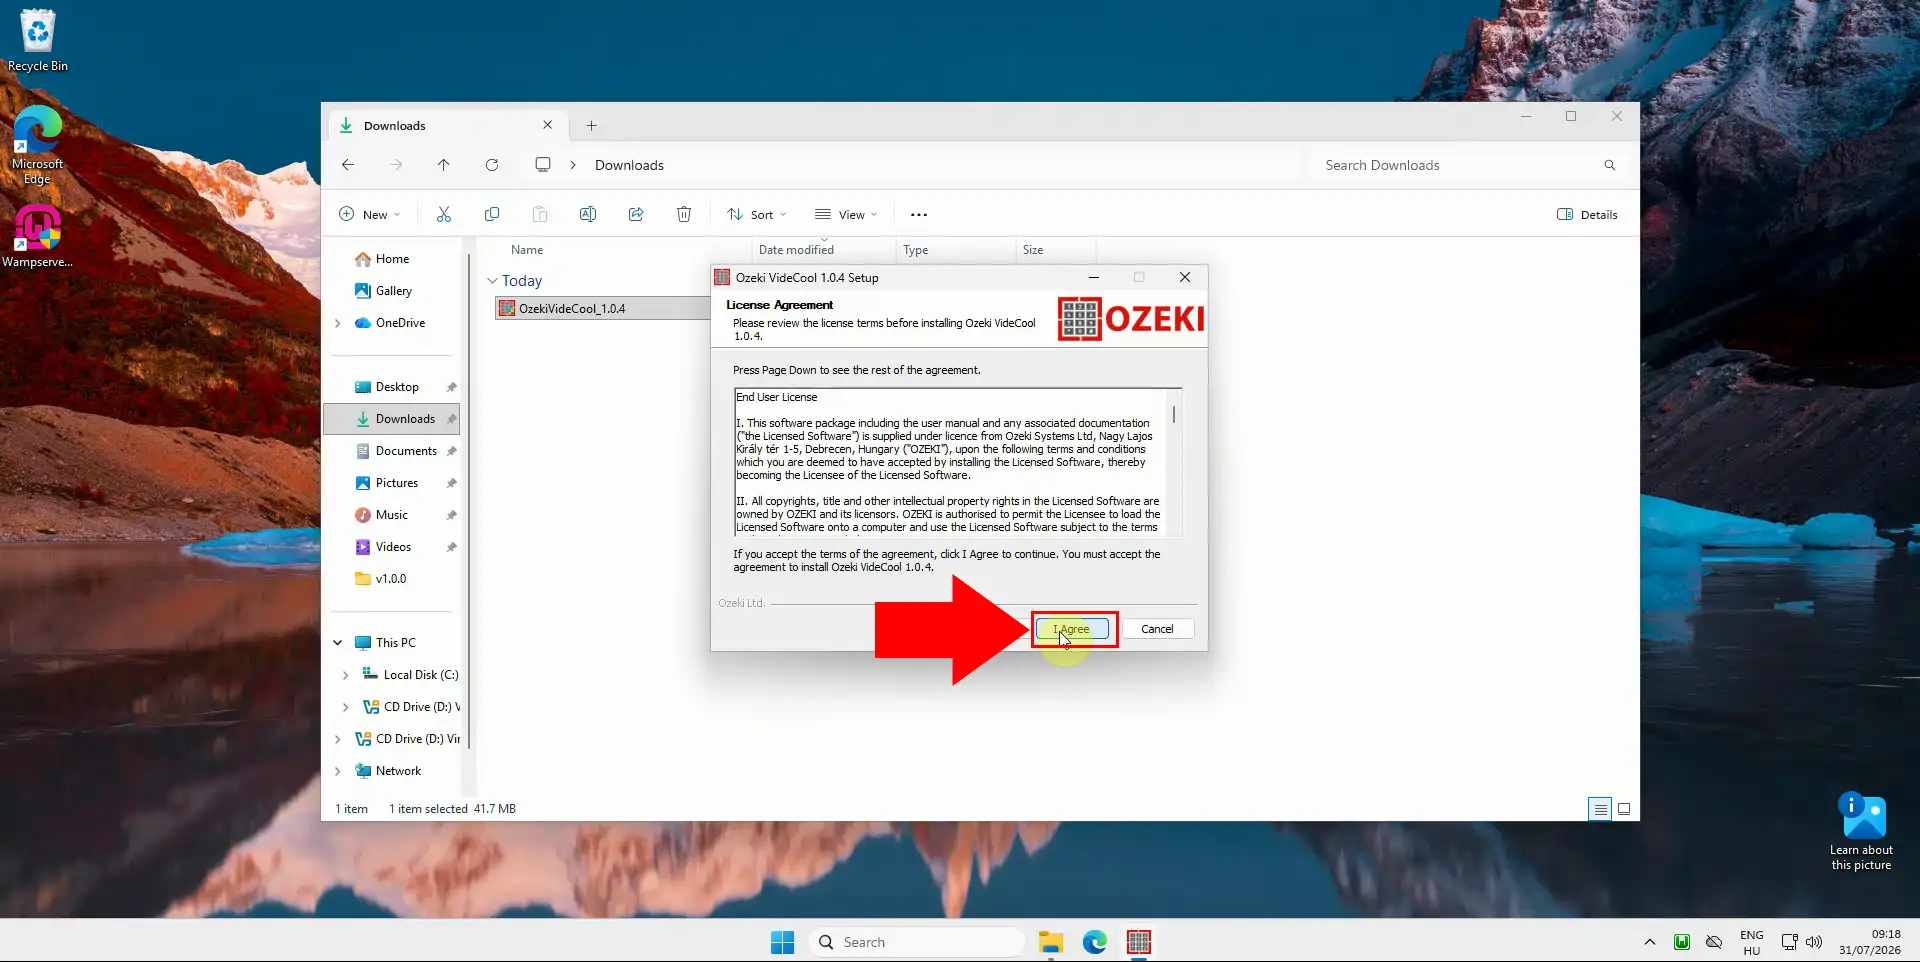
When the license agreement screen appears, read through the terms of use provided by Videcool. To continue the installation, tick the checkbox or select the option indicating you accept the license conditions. After accepting, click Next so the installer can move on to copying and configuring the required files.
On the installation options screen, confirm the target directory where Videcool will install, typically under your WAMP folder. Adjust the path only if you maintain a custom WAMP location, then leave other defaults as recommended. Click the Install button to start copying files and setting up Videcool’s web components on your Windows system.
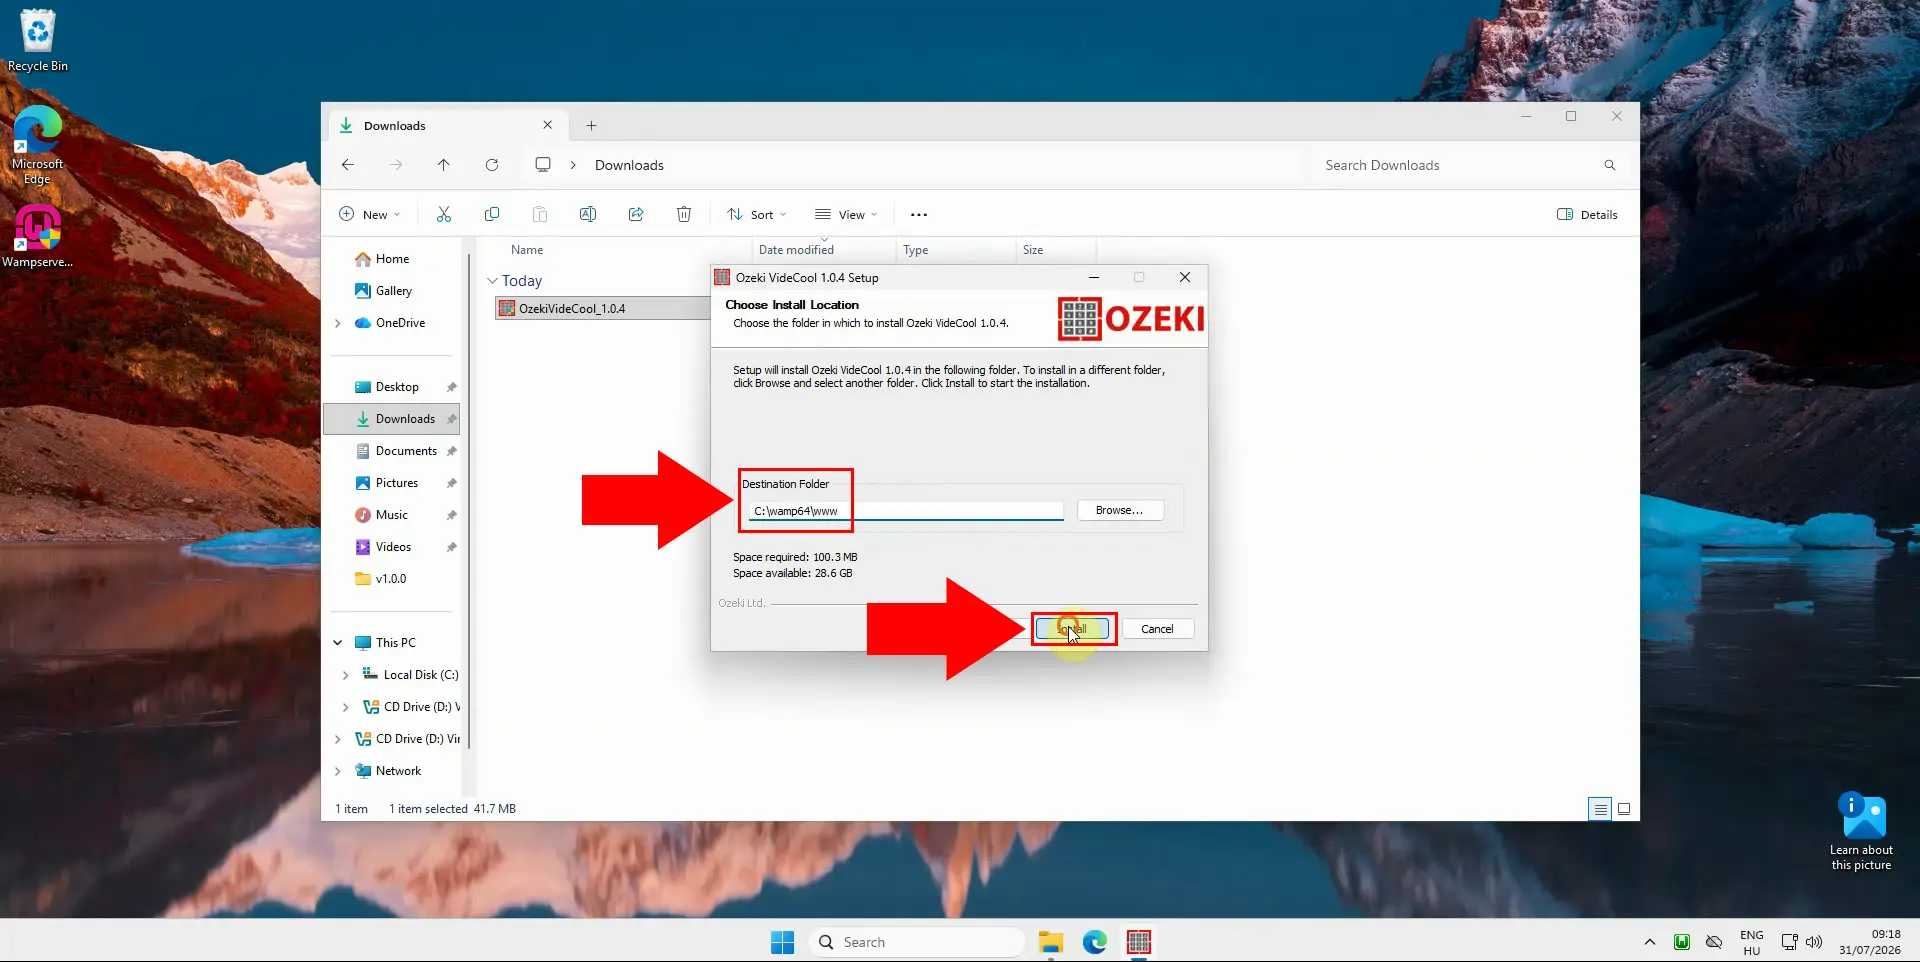
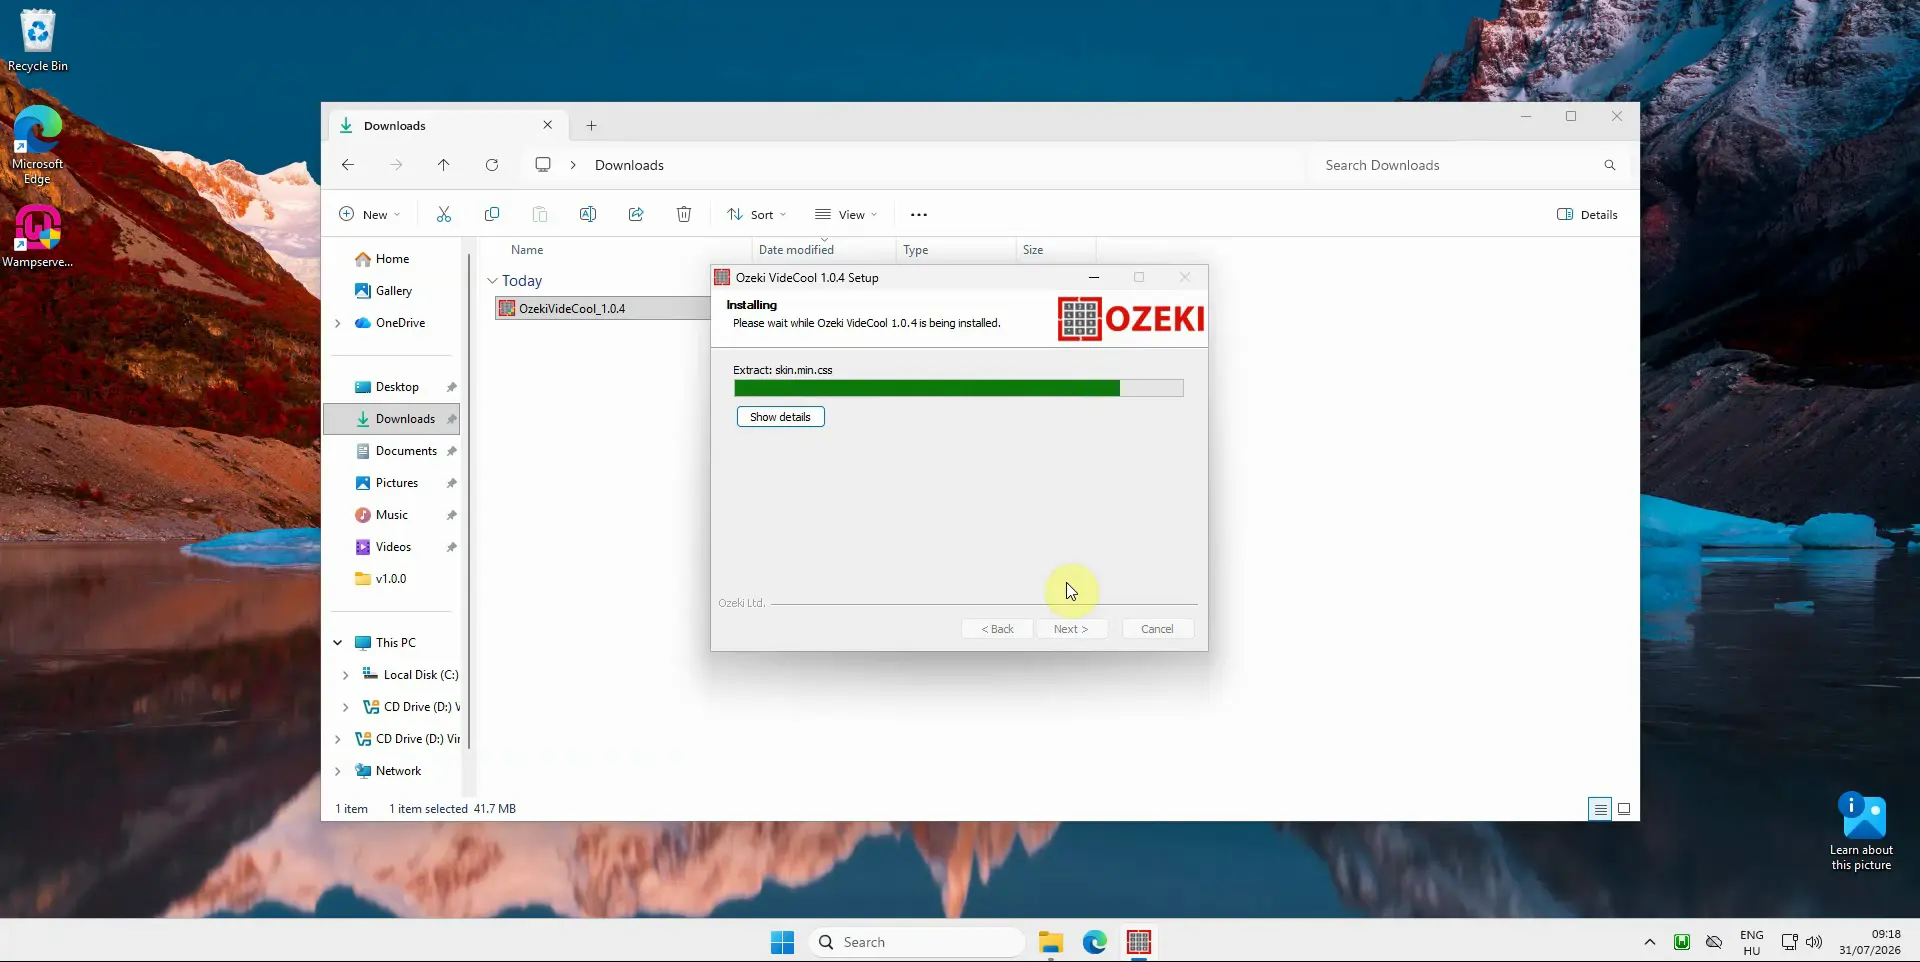
Watch the progress bar as the installer copies Videcool files and registers components on your machine. During this phase, avoid closing the window or shutting down WAMP and other related services. When the progress reaches 100 percent, the installer completes configuration and prepares Videcool for first use.
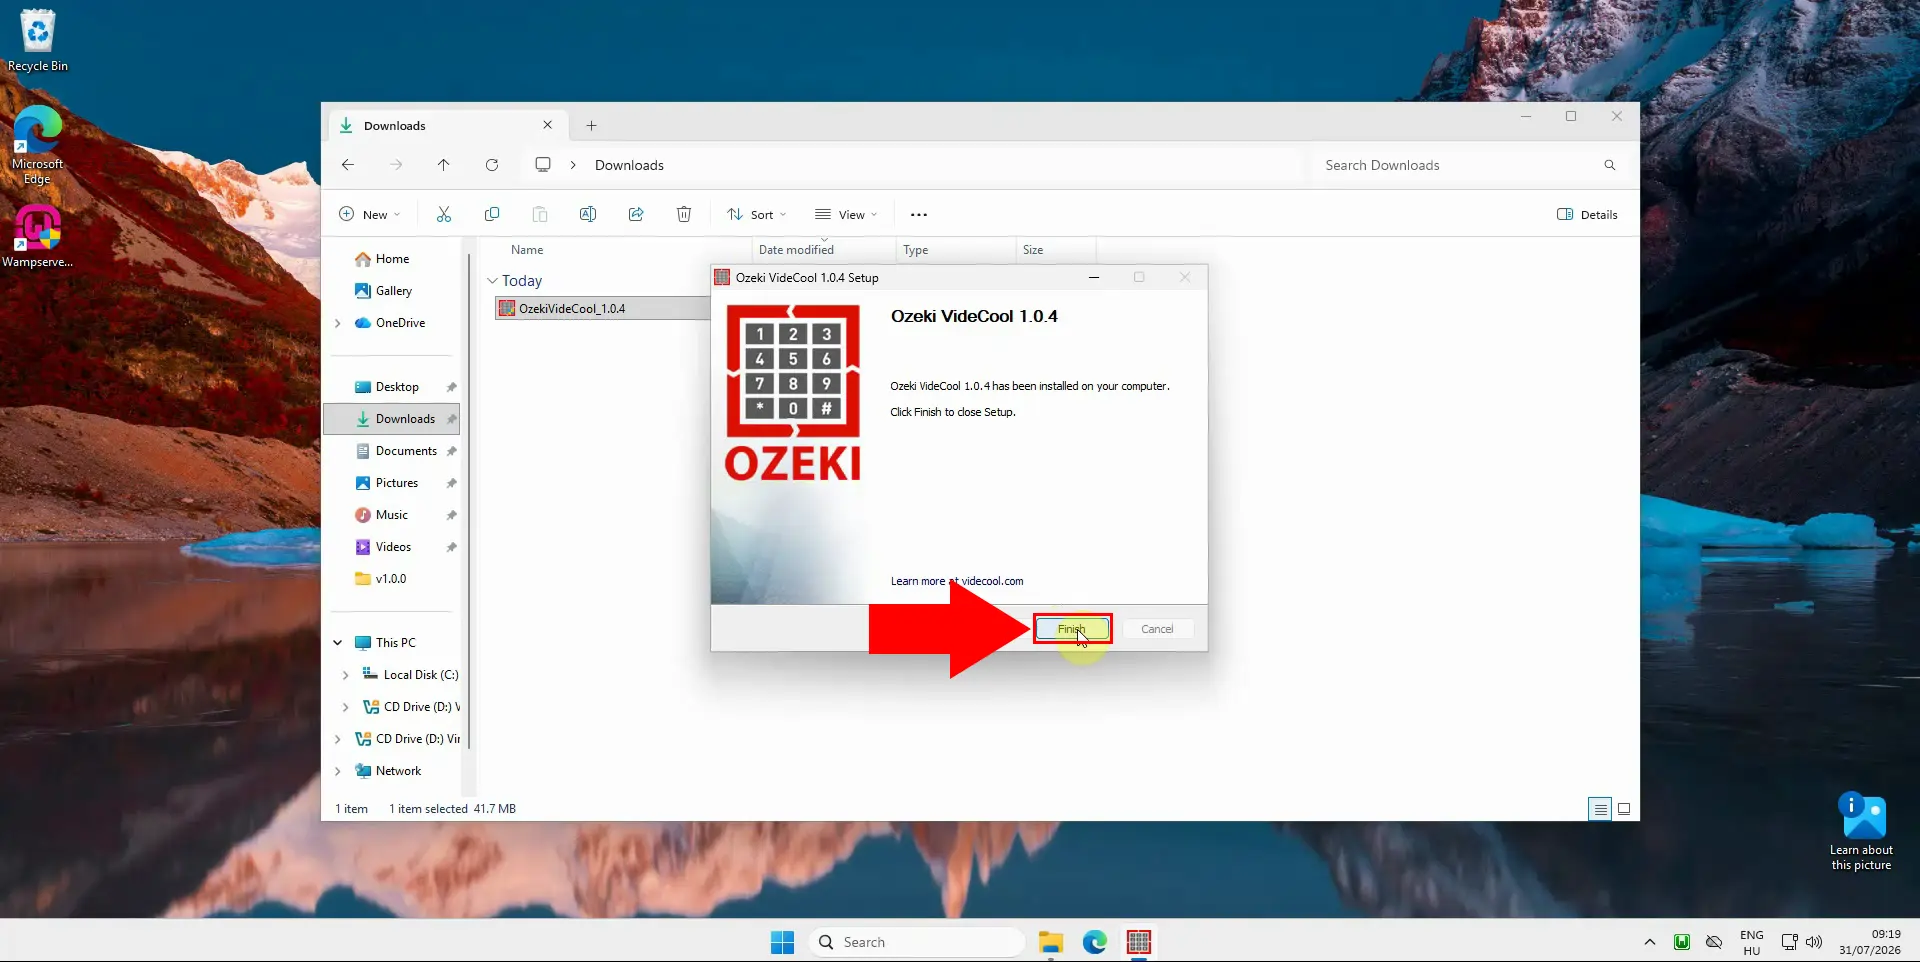
When the completion screen appears, verify that the installer reports a successful installation without errors. Optionally check any boxes to launch Videcool in a browser or open release notes directly from the wizard. Click Finish to close the installer and finalize the Windows setup of Videcool.
Step 3: Open Videcool in a browser
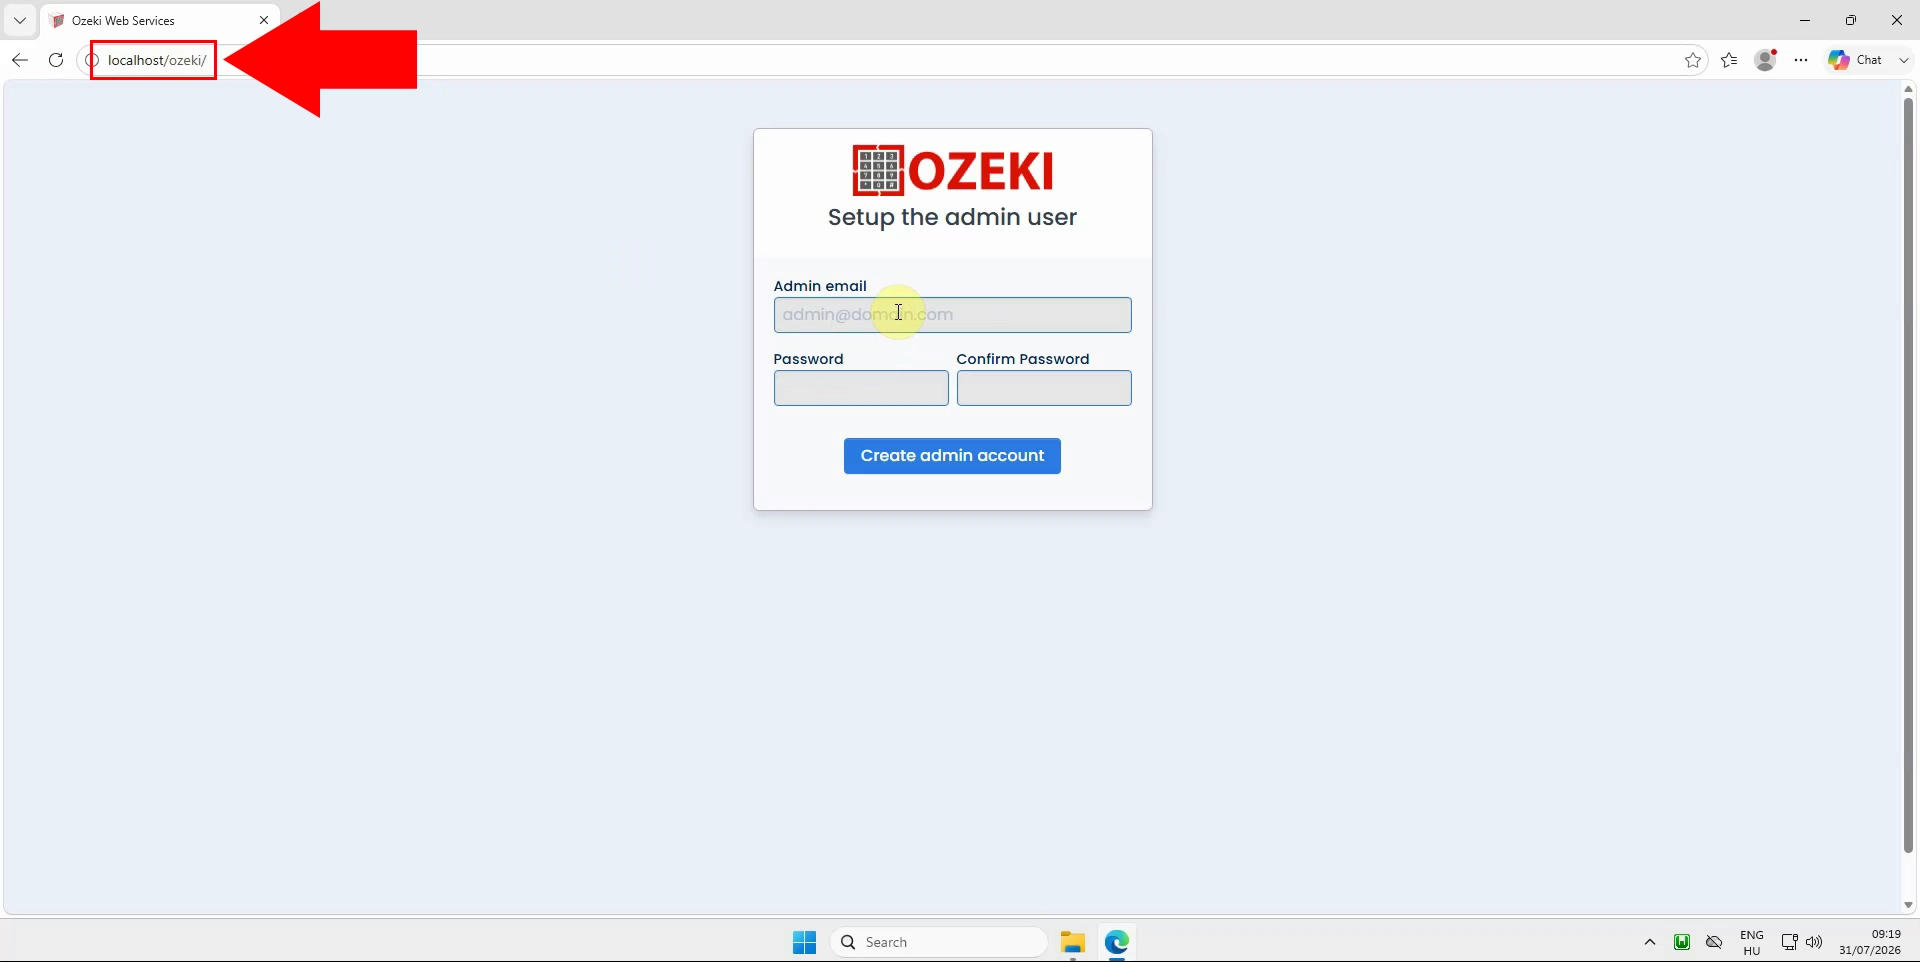
Open your web browser and navigate to the local Videcool URL hosted by WAMP, for example http://localhost/ozeki or the specific Videcool path. Confirm that the Videcool start page loads without errors and that assets such as images and styles are displayed correctly. If the page does not load, verify WAMP is running and that the renamed www folder has been replaced with Videcool’s web root.
Step 4: Create Admin account
On the initial Videcool page, fill in the admin registration form with a secure username, password, and any required contact details. Choose strong credentials since this account will manage all projects and settings on the Videcool instance. Submit the form to create the administrator profile, which the system will store in its configuration or database.
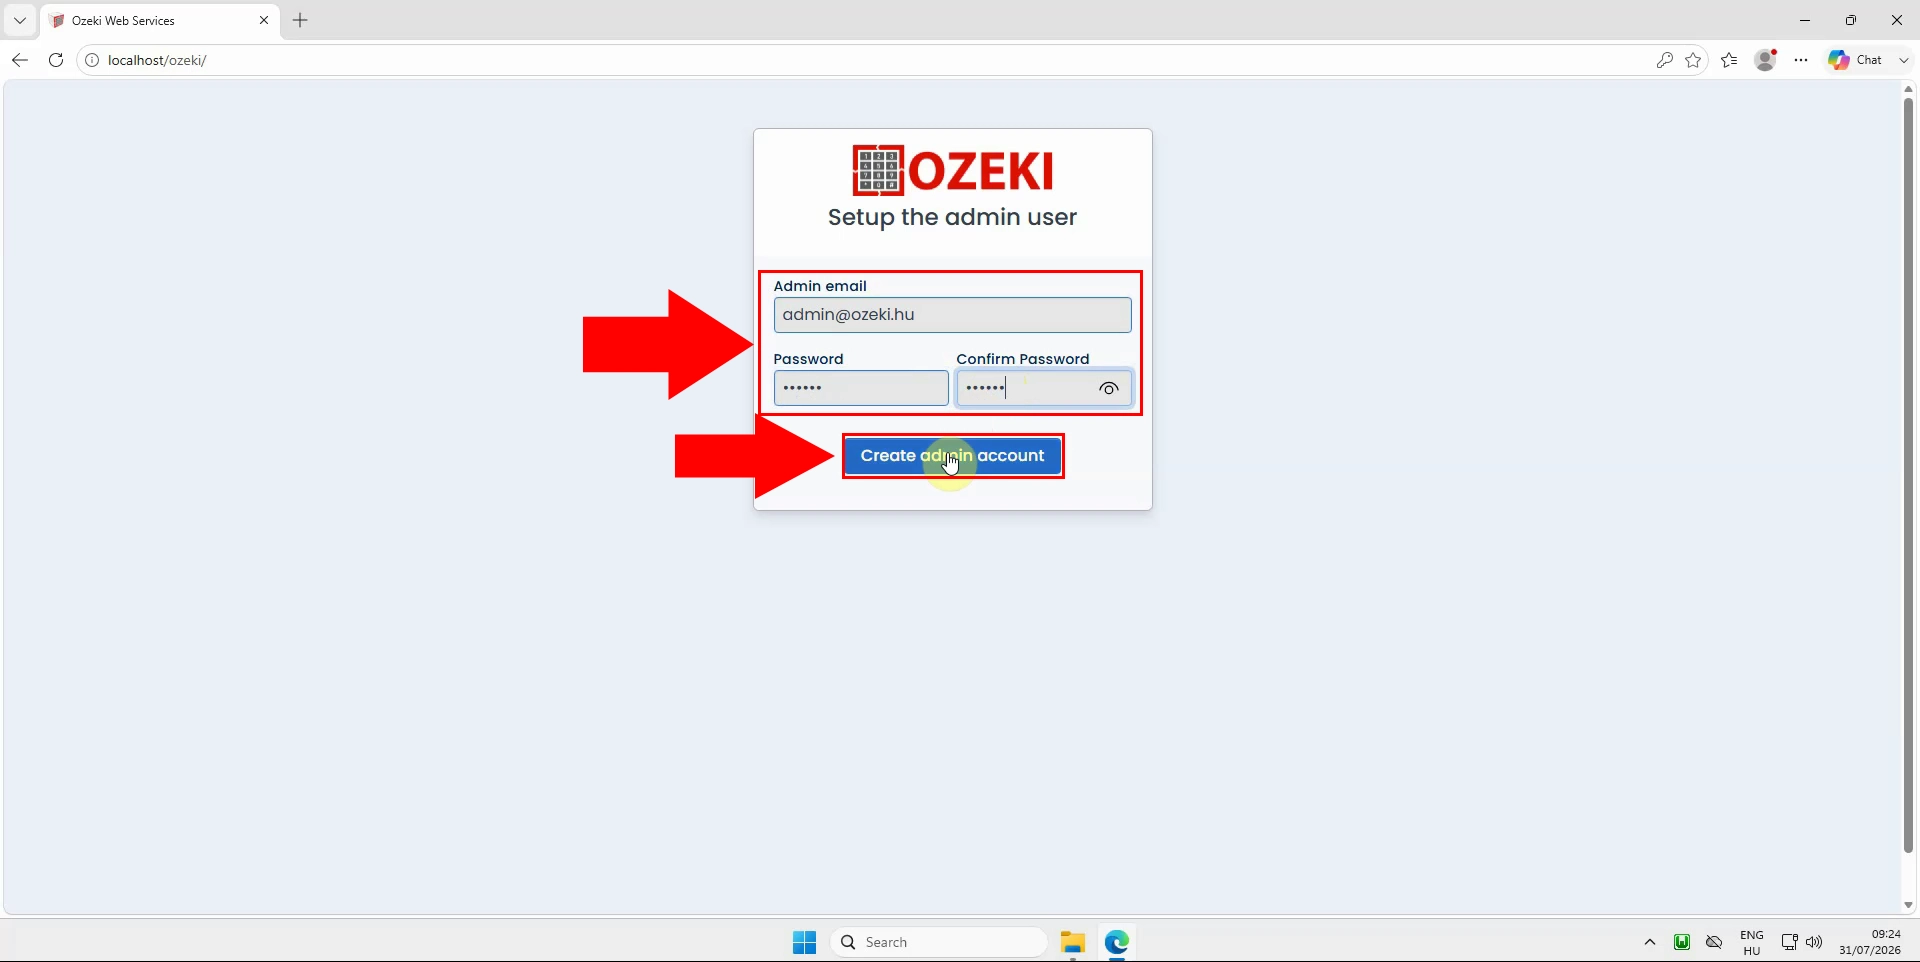
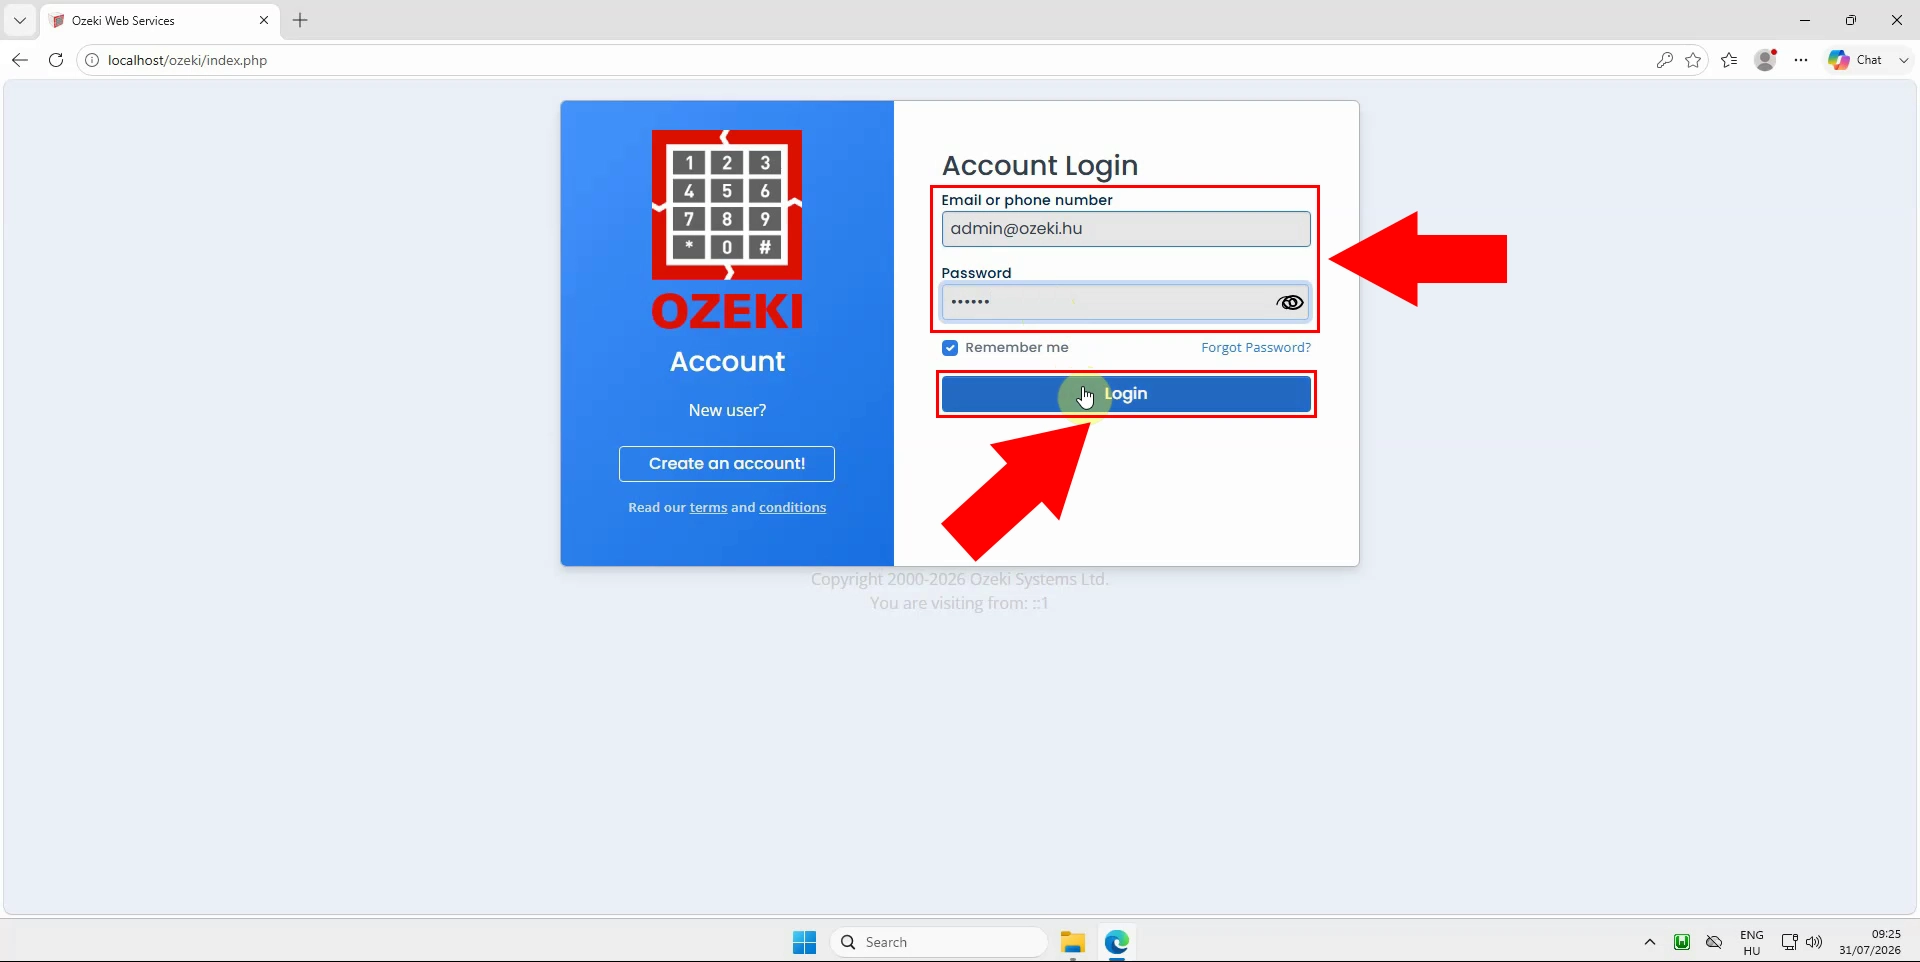
Step 5: Login as Admin
After creating the admin account, open the login page and enter your newly defined username and password. Ensure you select any proper language or interface options if Videcool offers them on the login screen. Click the Login button and wait for the system to authenticate you into the Videcool dashboard.
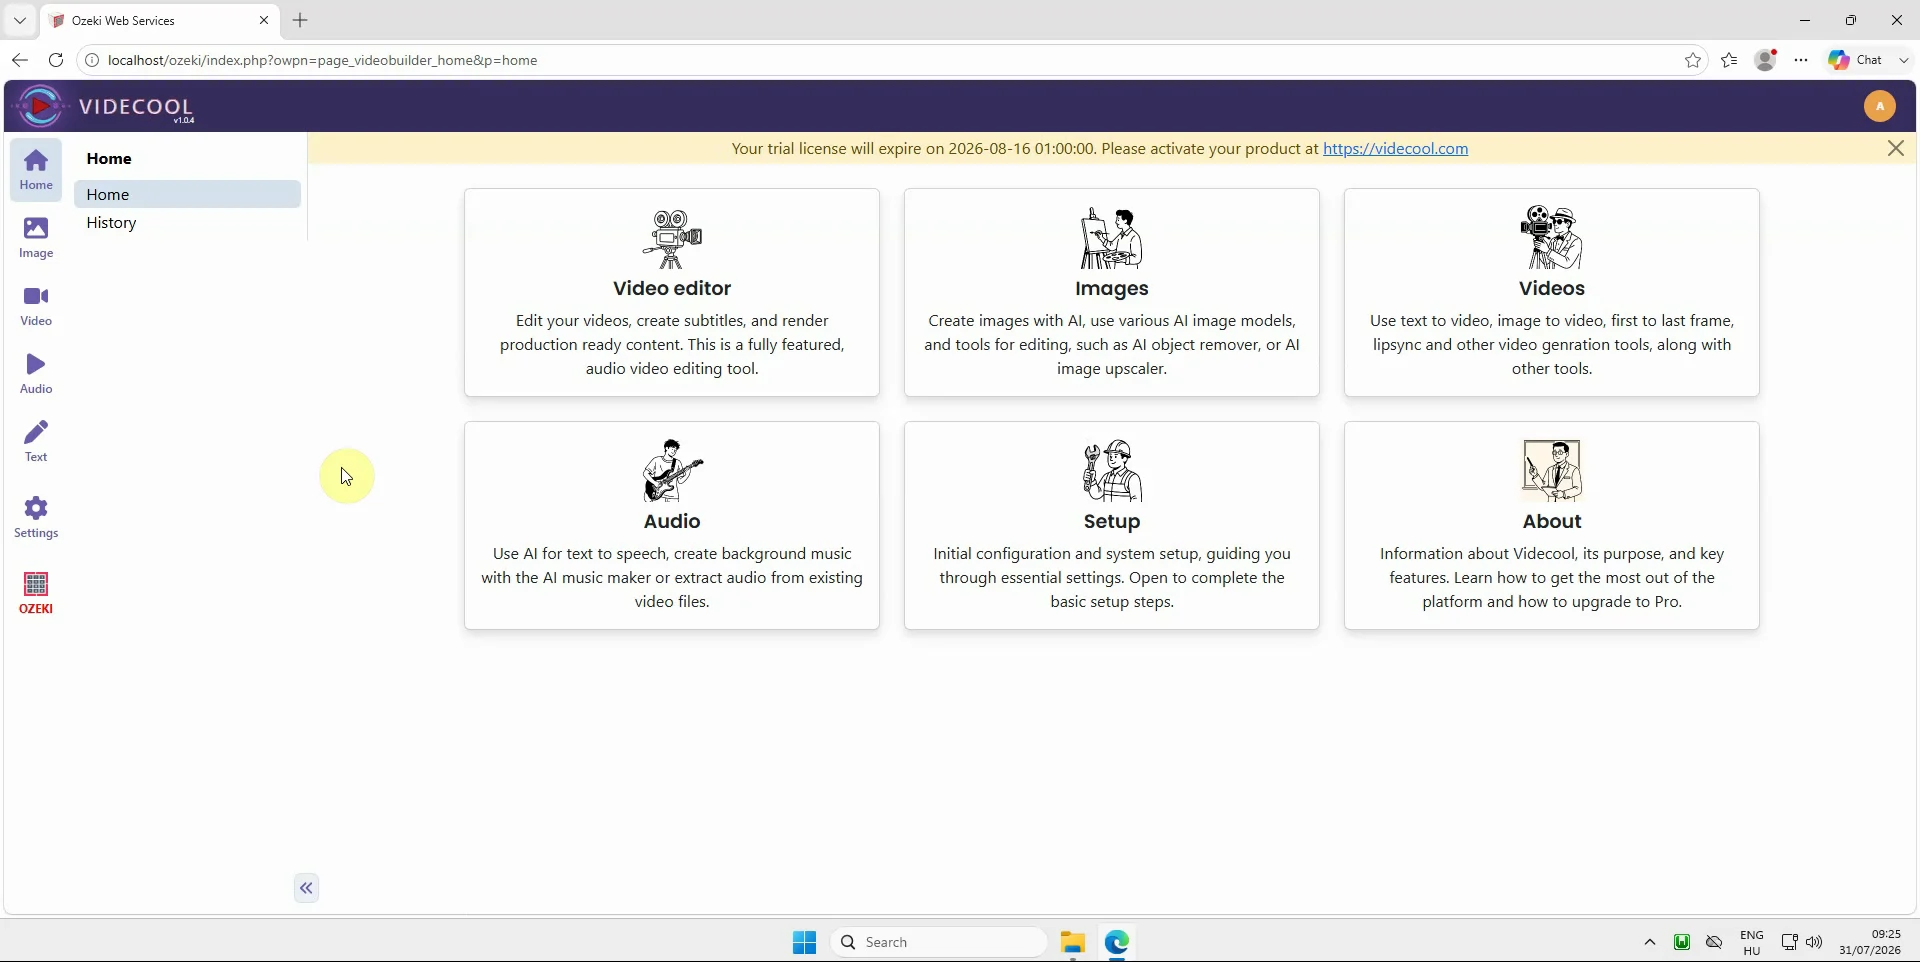
Once logged in, confirm that the Videcool dashboard appears and shows the main menus, status panels, and project controls. Use this interface to configure settings, manage workflows, and integrate Videcool with your AI or video creation environment. At this stage, the Windows installation is complete and you can begin creating or managing video projects directly from the dashboard.
Summary
This page walks you through installing Videcool on a Windows machine with WAMP, from preparing the web root to reaching the Videcool dashboard. It summarizes the quick steps, then expands them into detailed sections covering renaming the original www folder, running the Windows installer, opening Videcool in a browser, and creating and logging in with an admin account. By the end, you have a fully working local Videcool environment integrated with WAMP, with links to further guides such as Ubuntu installation, ComfyUI setup, workflows, and license activation for deeper use.